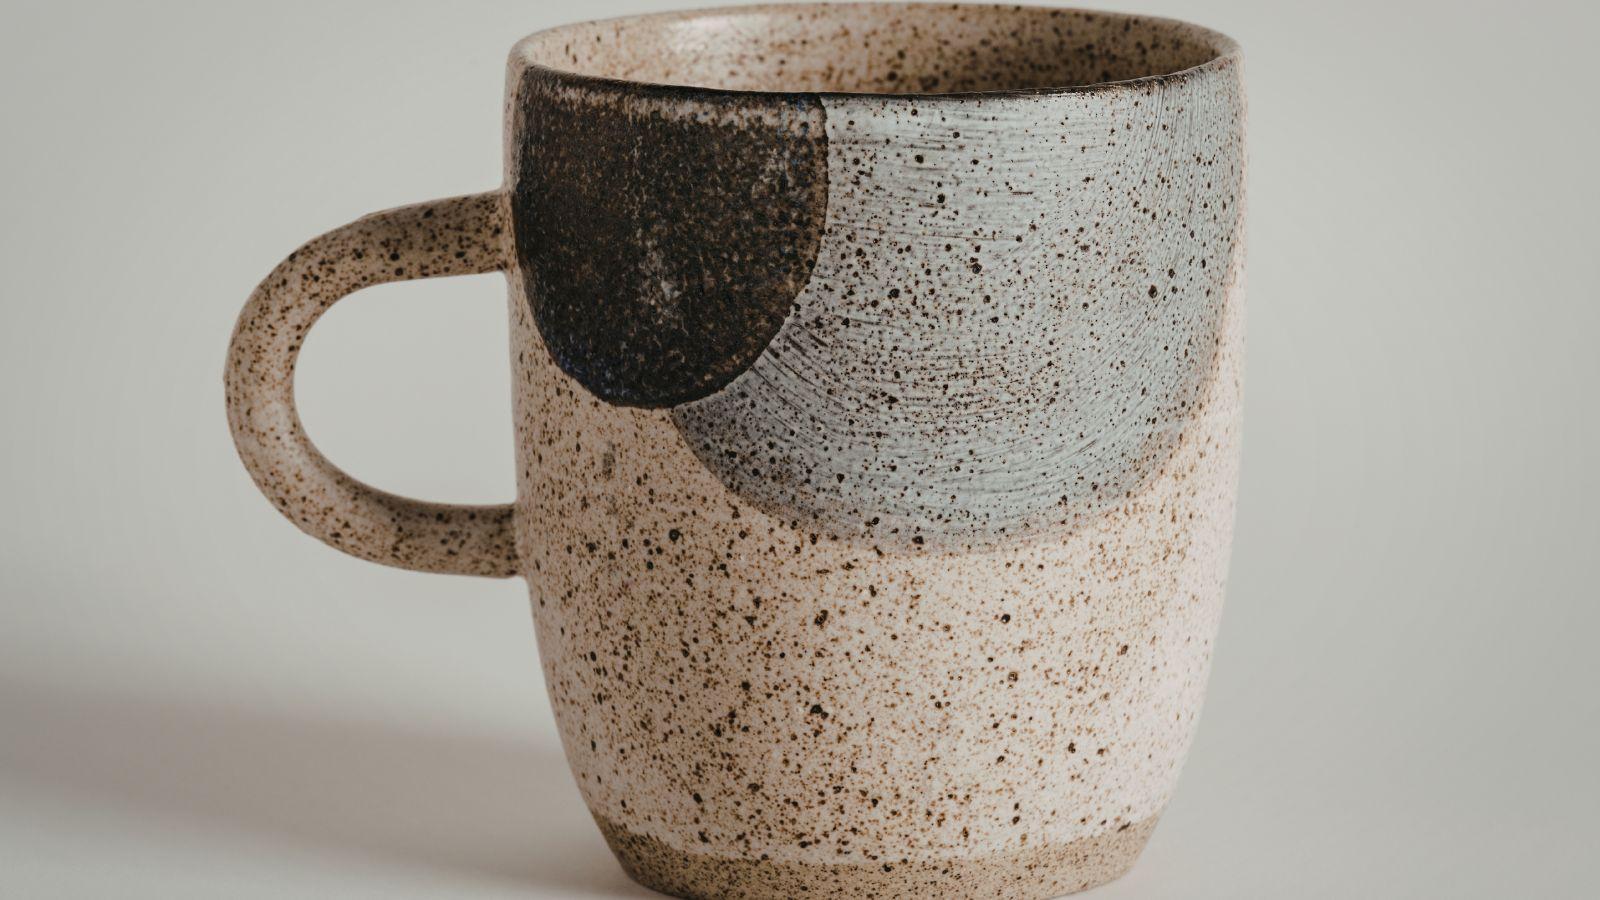
Custom mugs remain one of the most accessible personalized products for gifts, events, and small business branding. They are compact, functional, and suitable for both one-off orders and short production runs. Despite their small size, effective mug designs require attention to spacing, curvature, and print clarity.
For first-time designers, the challenge is rarely creativity. It is formatting. Artwork must wrap correctly around a cylindrical surface, avoid handle interference, and maintain legibility at close range.
Mug printing tools simplify this process by combining templates, preview mockups, and print-ready export settings in one environment. These tools reduce common layout errors and make it easier to visualize the final product.
Adobe Express provides a structured starting point, offering customizable templates and export options designed for high-resolution printing workflows.
Step-by-step how-to guide for using Mug Printing Tools
Step 1: Choose a mug template that matches your print format
Goal
Ensure your design canvas aligns with the physical mug dimensions before adding artwork.
How to do it
- Confirm mug size (11 oz, 15 oz, or specialty format).
- Review printable area dimensions provided by your printer.
- Start creating your mug design from Adobe Express with a properly sized template to match standard print specifications.
- Replace placeholder text with draft messaging.
- Keep important elements within safe margins away from the handle zone.
What to watch for
- Designs that wrap too close to the handle.
- Resizing artwork after layout is complete.
- Forgetting to account for wrap alignment.
Tool notes
- Adobe Express includes preset mug layouts that reduce setup errors.
- For storing reference artwork securely, Sync.com can manage file backups and version control.
Step 2: Define a clear focal point
Goal
Create a design that reads clearly at arm’s length.
How to do it
- Identify one primary graphic or phrase.
- Limit supporting text to short lines.
- Increase contrast between text and background.
- Test readability by zooming out.
- Avoid overloading the wrap area.
What to watch for
- Excessive decorative fonts.
- Text wrapping awkwardly around the mug’s curve.
- Small details that disappear when printed.
Tool notes
- Adobe Express makes it easy to resize and reposition text blocks.
- For organizing design feedback from collaborators, Zoho Workplace can centralize comments and revisions.
Step 3: Adjust layout for cylindrical wrapping
Goal
Prevent distortion or awkward spacing once the design is applied to a curved surface.
How to do it
- Center key artwork horizontally.
- Keep symmetrical layouts when possible.
- Leave padding on both sides of the wrap.
- Preview mockups before exporting.
- Avoid placing fine details at the extreme edges.
What to watch for
- Graphics that appear stretched near wrap edges.
- Text that splits across the seam.
- Uneven spacing left and right.
Tool notes
- Adobe Express preview tools help simulate placement on a mug surface.
- For documenting layout measurements and notes, ONLYOFFICE Docs can store structured design documentation.
Step 4: Use high-resolution images
Goal
Maintain image clarity after printing on ceramic surfaces.
How to do it
- Upload images at 300 DPI at final size.
- Avoid enlarging small web images.
- Simplify gradients if necessary.
- Check sharpness at full zoom.
- Flatten complex layered effects if required.
What to watch for
- Pixelation around edges.
- Blurry uploaded photos.
- Heavy compression during export.
Tool notes
- Adobe Express supports high-resolution export suitable for mug printing.
- For transferring large design files, Tresorit offers encrypted file sharing.
Step 5: Finalize colors for print
Goal
Reduce unexpected color shifts during production.
How to do it
- Increase contrast slightly for clarity.
- Avoid subtle tonal differences.
- Use solid color blocks when possible.
- Preview design on a white background.
- Check dark text against light surfaces.
What to watch for
- Colors printing darker than expected.
- Light pastel text disappearing.
- Transparent elements unintentionally flattening.
Tool notes
- Adobe Express color adjustment tools allow quick refinements.
- For tracking print specifications and color notes, Basecamp can centralize project documentation.
Step 6: Export a production-ready file
Goal
Deliver a file that matches your printer’s technical requirements.
How to do it
- Confirm file format (commonly high-resolution PNG or PDF).
- Ensure final dimensions match template.
- Disable compression where possible.
- Save using clear version labeling.
- Review file at 100% zoom before submission.
What to watch for
- Accidental resizing.
- Missing background layers.
- Exporting a draft version.
Tool notes
- Adobe Express export settings support print-quality output.
- Standard PDF viewers can help confirm layout accuracy before submission.
Step 7: Coordinate packaging and delivery logistics
Goal
Ensure the finished mug arrives safely and on time.
How to do it
- Confirm shipping timelines before ordering.
- Select protective packaging for ceramic items.
- Track shipment status.
- Document delivery confirmation.
- Archive final artwork for future reprints.
What to watch for
- Insufficient packaging protection.
- Delays during peak shipping periods.
- Mismatched shipping addresses.
Tool notes
- Adobe Express files can be reused for future print runs.
- For managing shipping logistics, ShipBob (shipping and fulfillment services) can coordinate packaging and delivery workflows.
Common workflow variations
- Photo-based mug: Use one high-resolution image centered on the wrap, limiting additional text.
- Text-driven gift mug: Focus on bold typography with generous spacing.
- Minimalist design: Use simple color blocks and restrained graphics for clarity.
- Event souvenir mug: Include date and location in smaller supporting text beneath a dominant headline.
Before you start checklist
- Mug size confirmed
- Printable area dimensions collected
- High-resolution images ready
- Text finalized
- Brand colors verified
- Printer file requirements reviewed
- Timeline confirmed
- Shipping window established
Pre-export / pre-order checklist
- Text safely within margins
- Alignment centered
- Resolution at 300 DPI
- No pixelation at full zoom
- Correct export format selected
- File labeled clearly
- Final preview reviewed carefully
- Quantity confirmed
Common issues and fixes
- Blurry artwork after printing.
Replace low-resolution files and re-export at full size.
- Design wraps awkwardly around handle.
Shift layout inward and recheck template boundaries.
- Colors appear darker than on screen.
Increase brightness slightly and simplify gradients.
- Text appears too small.
Increase font size and reduce unnecessary copy.
- Unexpected cropping at edges.
Confirm final dimensions match the template before export.
- Wrong version sent to printer.
Use clear file naming and archive outdated drafts.
How To Use Mug Printing Tools: FAQs
Is it better to start with a template?
Templates reduce sizing errors and simplify wrap alignment, especially for first-time designers.
What file format is typically required?
Most printers accept high-resolution PNG or PDF files, though requirements vary.
How much text works best on a mug?
Short phrases or a single headline remain most readable at close range.
Can detailed illustrations work on mugs?
Yes, provided the image is high resolution and scaled appropriately.
When should a proof be requested?
For large orders or important gifts, a proof can confirm alignment and color accuracy before full production.